How to Make Miniature Bead Figurines: A Complete Step-by-Step Brick Stitch Guide
Share
In this post, I invite you to a detailed tutorial on how to create miniature bead figurines. We’ll go over the Brick Stitch technique, the materials you’ll need, and some tips to make your piece as beautiful as possible.
If you’d like to see every detail with real step-by-step examples, you can watch the full video on my YouTube channel here: Watch on YouTube.
The Process and Materials
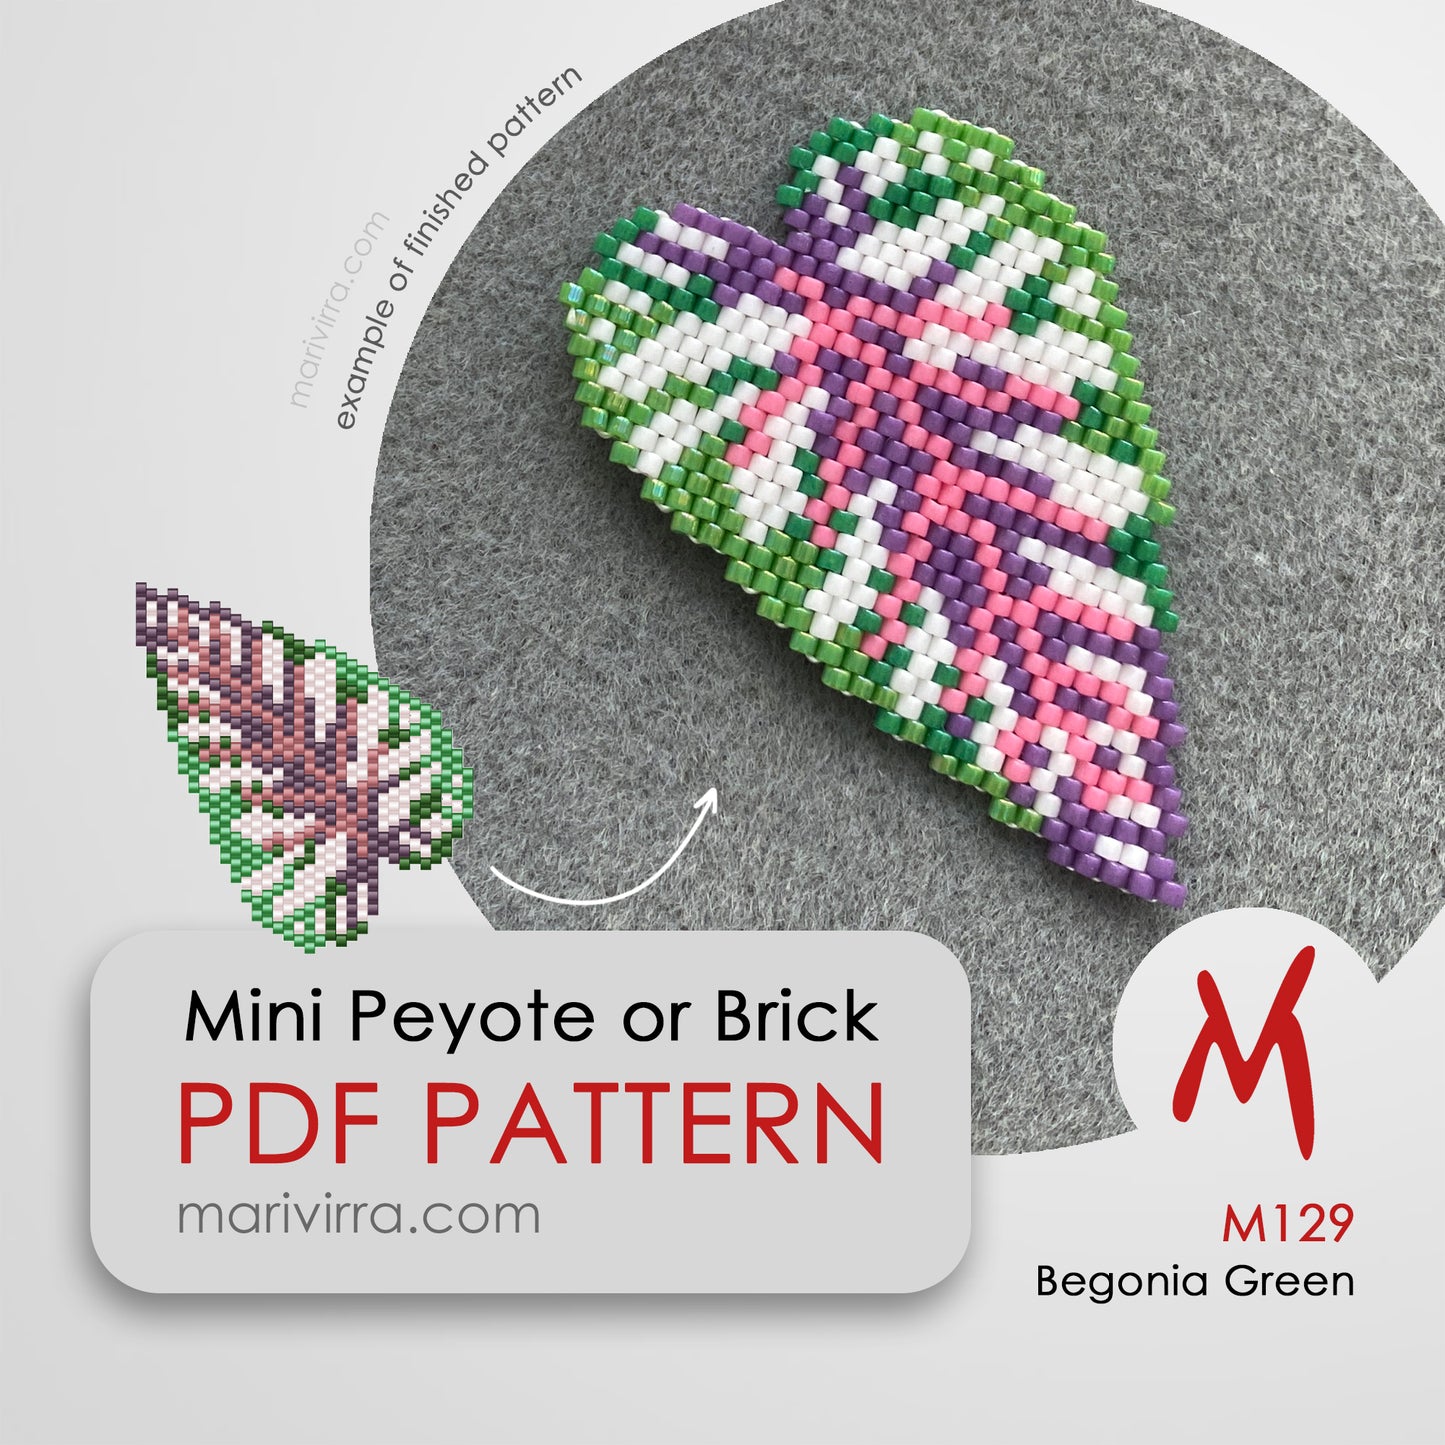
As an example, I’ll show you a few finished miniatures so you can see how they look when completed. They are soft and pleasant to the touch, and the process of making them is a kind of meditation and relaxation. At first, it might be a bit challenging, but I’ll do my best to make the process as simple as possible for you.
You will need:
- a beading mat,
- Miyuki Delica size 11 Japanese beads,
- a printed pattern with all useful information about sizes and the color legend,
- a spool of thread (75 m),
- and three or four needles.
Additionally, you’ll need a pair of small scissors. Optionally, you might also want a pencil for marking and a ruler for convenience. Also you can add small printed letters that you can place on the beading mat next to different bead colors.
Getting to Know the Pattern
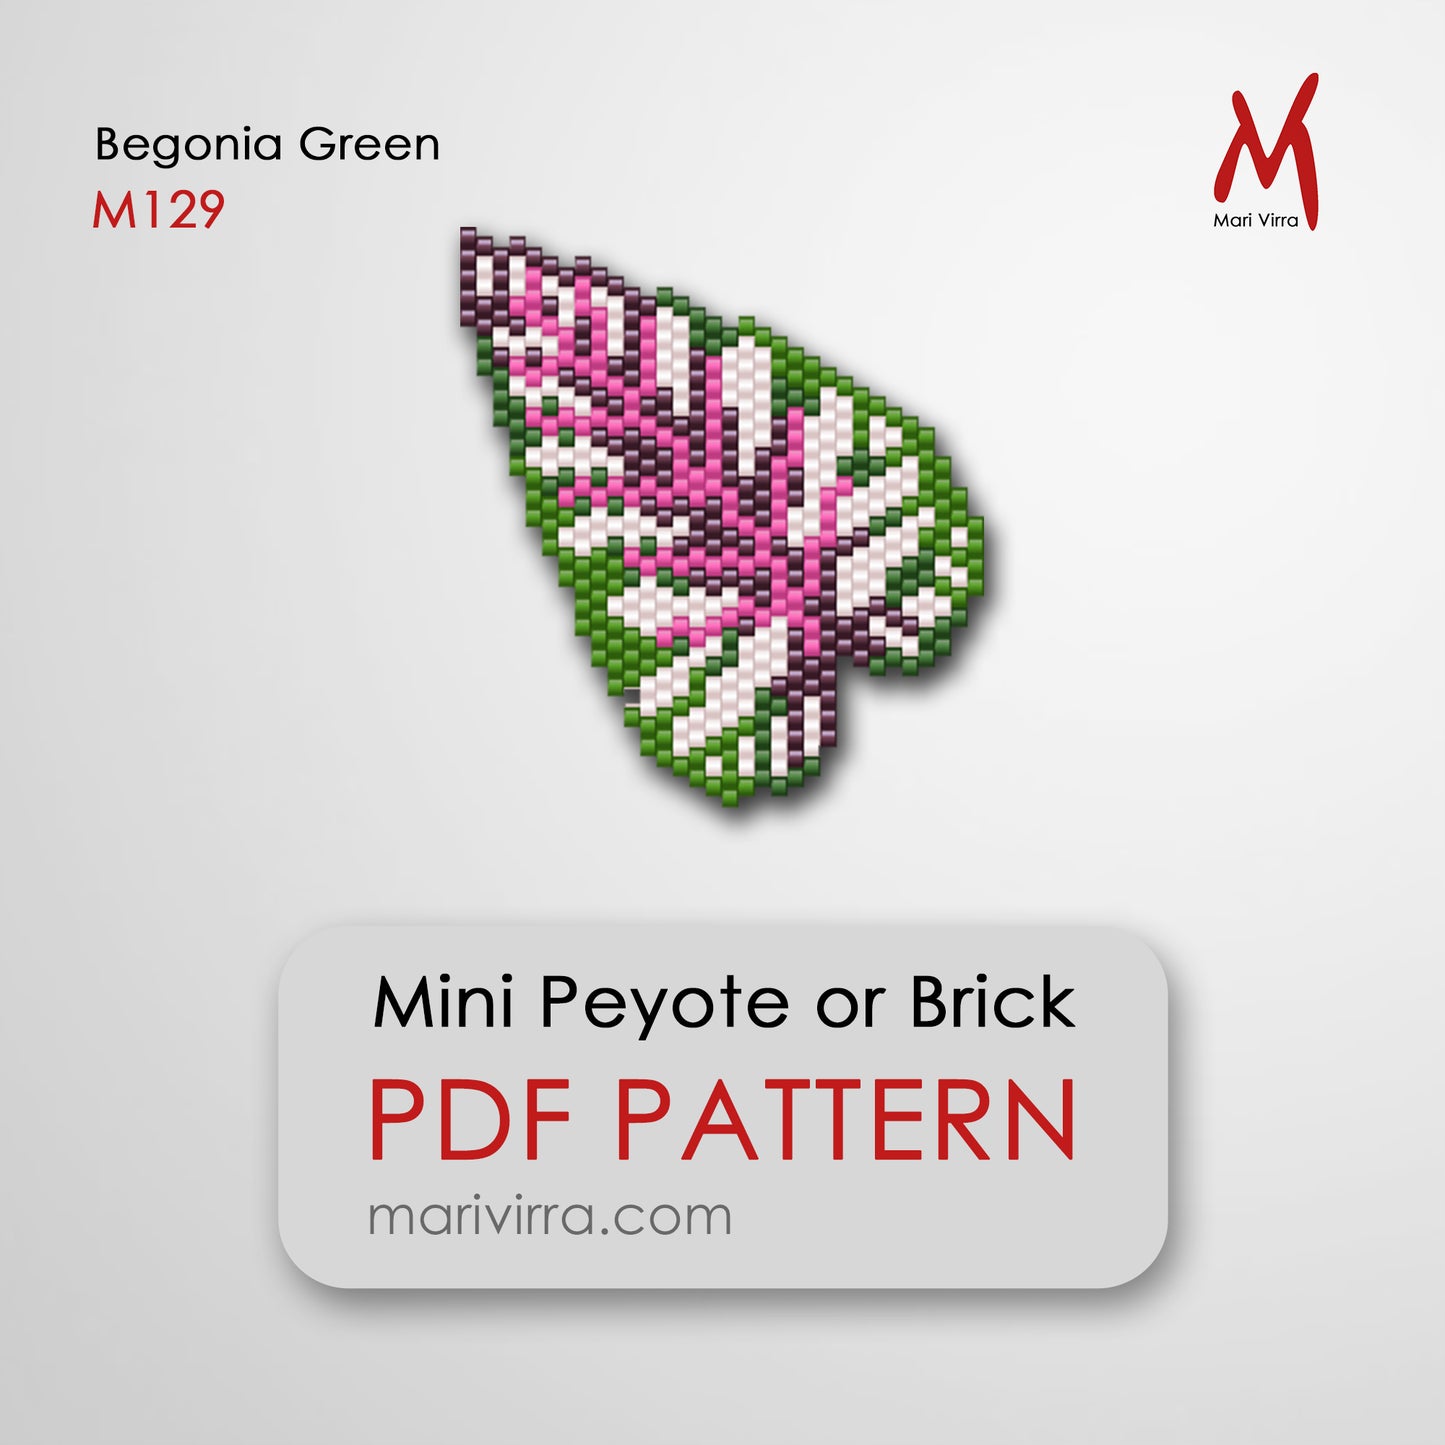
The first thing we’ll start with is the pattern. On the first page, you’ll see a picture of how the finished beadwork will look. The second page contains helpful information about the beading technique, useful tips, and discount details. The most important part is the data about your pattern — its width, length, number of rows, colors, and beads used.
The next page is the bead legend, where you’ll find color numbers, names, letter designations, and exact quantities. Using this page, arrange your beads in small piles on the mat and place the letter next to each pile. It’s also important to review your beads before starting — if you find uneven, smaller, or defective ones, don’t use them. This will make the beading process much smoother later.
The last page is the main pattern you’ll work on. To start, find the widest part of your design. We’ll bead one half of the leaf first, then the other. If the leaf’s shape is smooth, the beading will be easy. In other designs, like a cactus pattern with many bulging parts, it will take more time, but the principle remains the same.
Starting the Beading Process
Let’s return to the leaf pattern. We’ve already marked the first row and will start from it. If your piece is mostly light in color, use white thread; if it’s darker, use black. Cut a fairly long piece of thread, but keep in mind: the longer the thread, the harder it is to handle. The shorter the thread, the more often you’ll have to make new additions.
In this video, I used the long-thread option — about four elbow lengths. Thread one end through the needle. After threading the needle, don’t tie any knots.
Following the pattern, start stringing the beads using the letter designations. For example, the first color marked E requires four beads, followed by color B with three beads. Continue this way until you’ve strung all the beads from the first row. Be careful not to lose any beads as you work.
After stringing the entire row, check for accuracy and slide the beads to the middle of your thread. Hold them as shown in the video, then use your needle to pass through the second-to-last bead from the far side. Pull the thread through the hole and tighten it — the bead should flip to the opposite side. Repeat this with every bead, constantly adjusting the tension so that the beads sit neatly in place.
The first rows are always the hardest part of miniature beading — but once you master them, everything becomes much easier. When you finish a row, compare it with the sample shown in the video. You can also mark completed beads on your printed pattern with a pencil to avoid confusion.
Continuing the Pattern
Next, choose the direction you’ll move — I prefer going upward. Look at the pattern to see where your working thread and needle are currently positioned, and continue beading in that direction. All subsequent rows will be beaded one bead at a time.
In the pattern, our next bead is a green one. Pick it up with the needle, pass the needle under the thread between the previous beads, gently catch the thread, and pull it through from below. Then pass the needle back through the bead from below upward and tighten it (but not too tightly). A small woven triangle should form — mark this bead as completed on your pattern, and move on to the next.
Continue following the same steps, row by row, following the video and your printed pattern. Some parts of the pattern may look like a bead sticks out beyond the shape — in such cases, you’ll attach it differently, as shown in the video.
Occasionally, you’ll encounter situations where you need to add two beads at once or weave in a slightly different direction. These details are explained step-by-step in the tutorial.
Thread Changes and Finishing Touches
If your thread runs out, leave a short tail — not too short — and tie it off securely.
It’s better to replace the thread in the middle of a row rather than at the end, so the connection point will be less visible. Hide the thread within the beadwork, moving back and forth between beads, and make a small knot for extra strength. Try to place the knot near a bead of similar color, so it blends in. Cut the thread close to the beadwork.
To add a new thread, simply reverse the process: hide the end inside the beadwork, tie a small knot, and bring the thread out to the place where you need to continue beading.
Using Your Miniatures
That’s all you need to know to create miniature beadworks! You can use them as they are, or get creative — attach them to clothes, bags, or backpacks, make pendants or earrings, or even sew them onto a felt base to make them sturdier.
You can purchase the patterns in my shop - https://marivirra.com/collections/digital-bead-patterns
Thank you so much for attention! See you next time — bye-bye!